腰紐まで大丈夫?
では、ちょっと厄介なおはしょりの始末です。
でも、要所要所できっちり布目を通していけば問題ありません。
一つ一つ確認しながらゆっくり進めましょう。
着付けを楽しむことが大切です。
腰紐までを復習したい方はこちらへ
着物の着付けができれば浴衣はもちろん、振袖も自分で着ることができます。 基本をしっかり身に付けましょう^^ 浴衣とは違い、袷の着物は重さがあります。柔らかい布、張りがある布など様々です。薄手の夏着物は更に丁寧に着る必要があります[…]
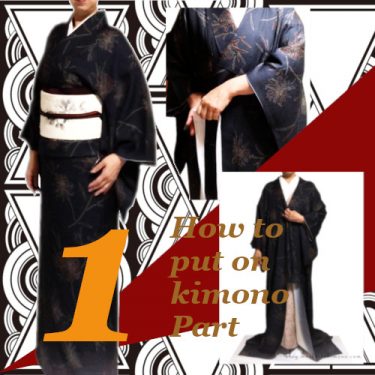
着物を着る:続き
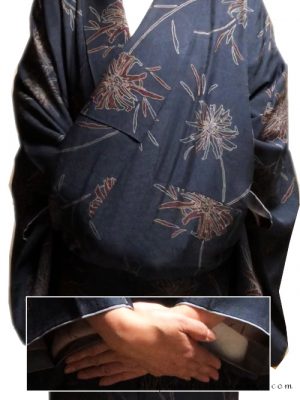
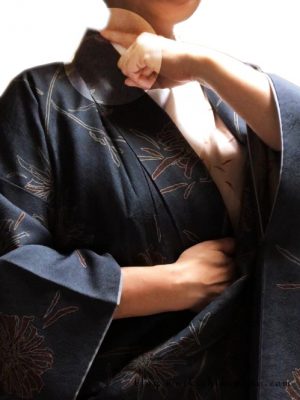
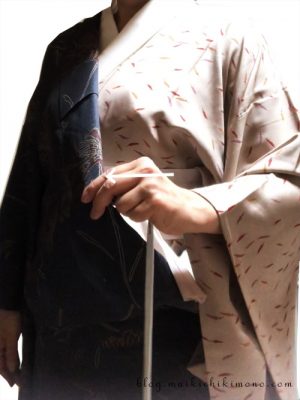
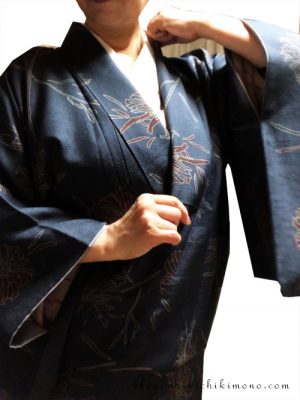
右脇にある上前の衿先と左脇にある下前の衿先はどうなっていますか?
右の衿先、左の衿先
36. 上前の衿先は腰紐でしっかり押さえられているか確認。
Make sure that the left end of the collar is firmly held by koshihimo.
37. 下前が下がらないように、下前の衿下を腰紐より上に出しておく。
Pull out the right end of the collar above koshihimo so as not to get the lower skirt part loose.
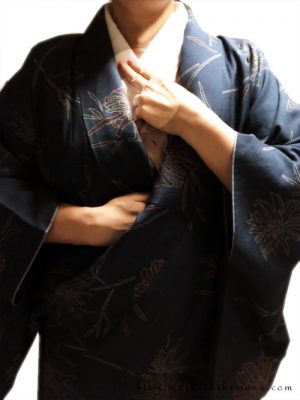
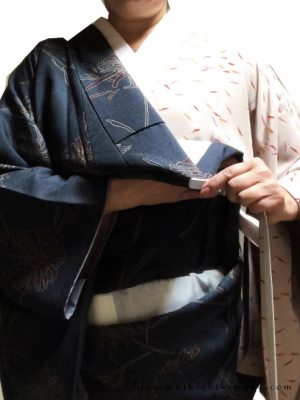
おはしょり線を整える
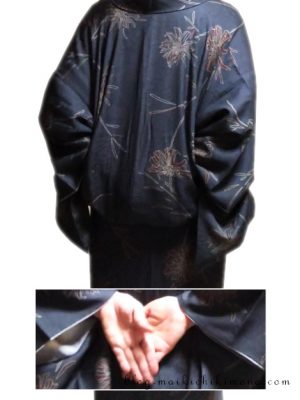
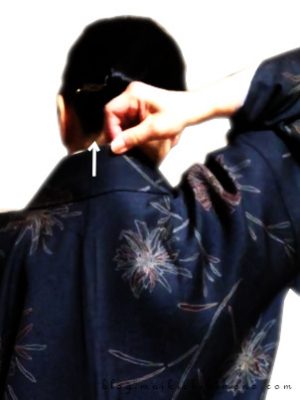
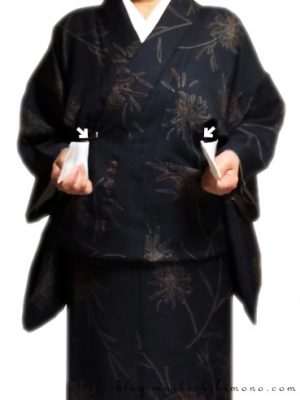
38. 身八口から後身ごろに両手を手刀にしていれる。
Put the hands inside the center of the back.
39. 背中心から脇に向かって手刀を動かす。
Slide the hands from the center to each side.
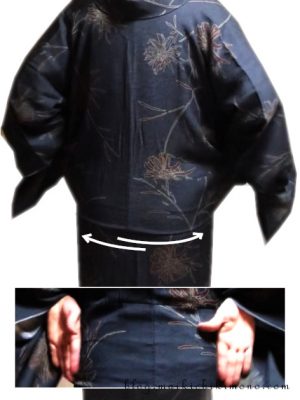
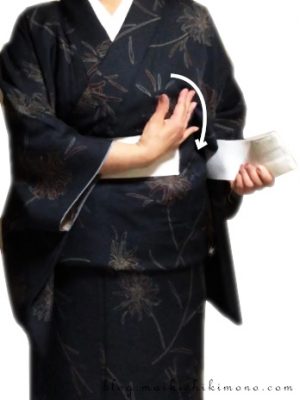
40. 前身ごろのおはしょりを整える。左手は身八口から下前の内側右脇に、右手は上前の内側左脇に手刀を入れる。
Put the left hand inside the right part from miyatsuguchi, an opening , and put the right hand inside the left part.
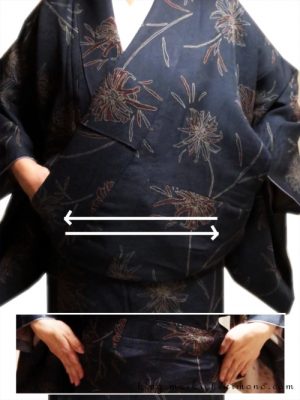
41. 真横に線を引くように両手刀を滑らせ、おはしょり線をきれいに出す。
Slide the hands aside at the same time to make the line of ohashori sharp.
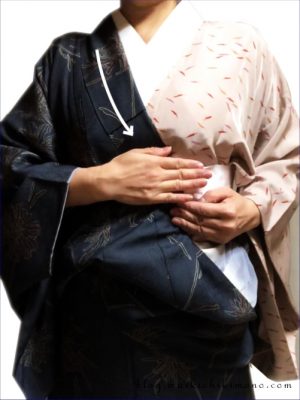
衿元を決める
42. まず背中心で半衿は着物から出ないように合わせる。
At the center of the back, make sure that haneri does not come out from kimono.
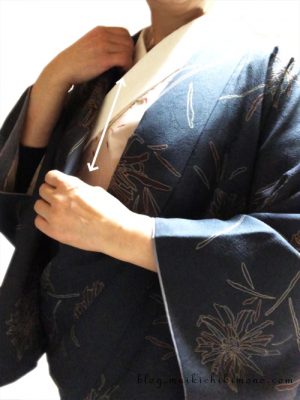
43. 下前の衿を掛衿線で内側に3分の1折り、指でしごくように布目を通す。
Fold the right collar 1/3 inside at kake-eri short line and straighten the grain line (folded line) with your fingers sliding.
44. 基本の半衿の出し方は耳たぶの下あたりで指1本分出す。
Basically, take the width of one finger under your ear.
45. 衿の交点では指2本分出す。
Take the width of two fingers at the intersection of the collar.
着物の種類、色衿または刺繍や柄半衿によって出し方を変えます。
46. 衿をなぞるように胸下まで手をおろす。
Slide the right hand along the collar and stop it under the breast.
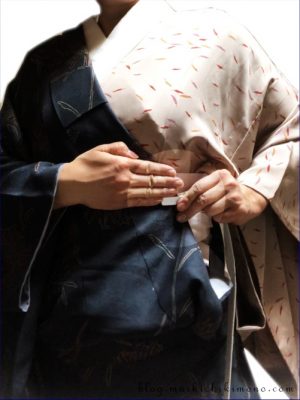
47. ゴムが一重の方の着物ベルトのクリップを左手で取り、胸下右手の指4本目の位置に水平にとめる。(実際は左の身八口から中に入れてとめる。)
Take a kimono belt. Hold the clip of the single layer side. Insert the clip from miyatsuguchi or the side hole and attach the clip at the position of the 4th finger.
48. 衿の位置とクリップの高さを変えずにその位置で下前を真っ直ぐ前に突き出す。
Move it forward horizontally. Be sure to keep the position of the collar.
49. 余り布をたるみなく内側に折り込む。
Tuck up all extra fabric.
腰紐からきれいにたるみなく上げることで前後のおはしょり線が合います。
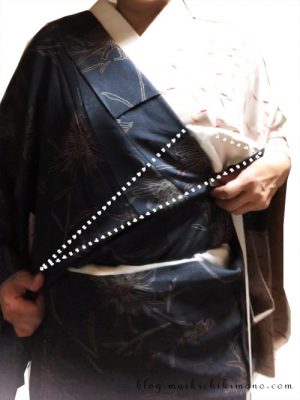
50. 三角に折り込んだところ。
Make a triangle at the front. This is the view after tucking.
51. そのまま背中を通ってクリップを前に戻し、下前に止めたクリップの高さと同じ位置に仮止めしておく。
Bring the other clip to the front and temporarily attach it at the same height as the first clip.
52. 上前の衿を整える。掛衿線で衿を3分の1内側に折り、指でしごくように布目を通す。出し方は下前と同様。
Adjust the collar of the left side. Fold it 1/3 inside at kake-eri short line and straighten the grain line with your fingers sliding. Make sure the width of haneri .

53. 仮止めのクリップを外し、下前側と同じ高さで水平に止め直す。
Take off the clip attached temporarily and attach it again at the correct position.
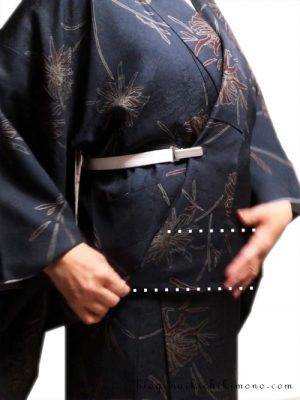
54. 上前の衿折りはおはしょり線までに消失させるときれい。(点線間)前後の身ごろのおはしょり線が合っているかも確認。
Make the collar fold in front gradually disappear to the line of ohashori. (Between the dotted lines). Match the front and rear lines of ohashori on the right side.
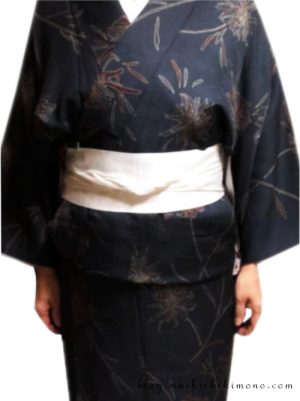
55. 長襦袢の伊達締めと同様に締める。おはしょりの調節がない場合は61. へ。
Tie datejime as the same procedure as datejime of nagajuban. Please refer to nagajuban. If you don’t have to adjust your ohashori, go to 61.
長いおはしょりは体型をもっさりと見せます。適度な長さにします。処理の仕方は以下のリンクをご覧ください。
おはしょり、されどおはしょり・・・ あなたはきれいに決められますか? 自分のサイズよりも身丈や幅が大きい着物を着る時は余分な布の始末に苦労しますね。 特におはしょり。 そんなおはしょりをさっときれいにするにはどうした[…]
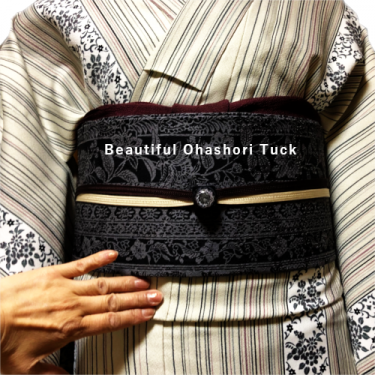
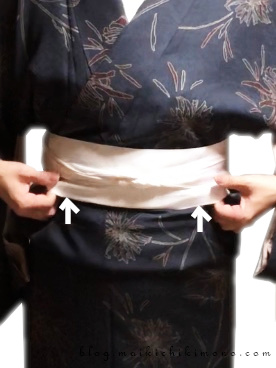
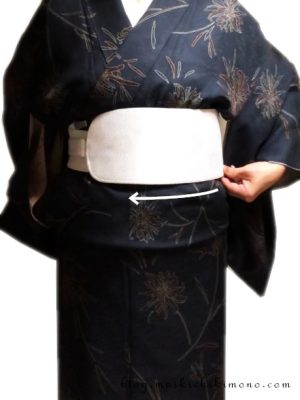
56. 紐の処理と同様に前後のシワを取る。脇(身八口)も確認する。おはしょりがわずかに長い場合はたくし上げて伊達締めに挟み込む。
Remove the wrinkles at the front and back with the same procedure of himo. If ohashori is long, tuck it into datejime and shorten it.
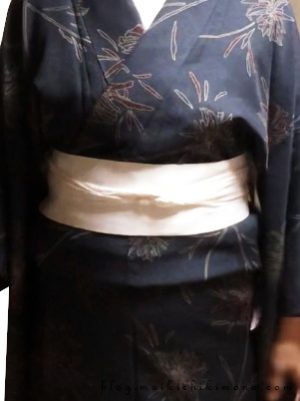
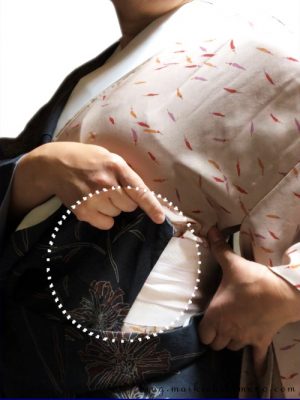
57. 基本のおはしょりの長さは人差し指1本分。
Basically, the length of ohashori should be the same as the length of the index finger.
調節が必要な場合は、少し短めにして後から引き出すときれいに揃えられる。短いおはしょりは後で出すことができますが、長いおはしょりを引っ込めるのは非常に難しいです。
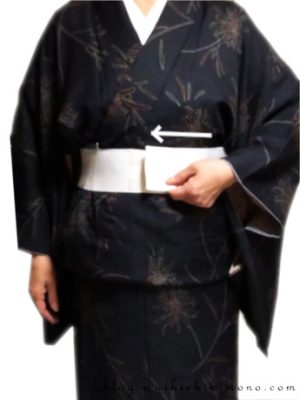
伊達締めベルトの付け方
58. ベルトの真中を取り背中に持って行く。両端を前にして脇を締める。
Take the center of datejime belt and put it on the back. Bring both ends to the front and stretch the belt a little.
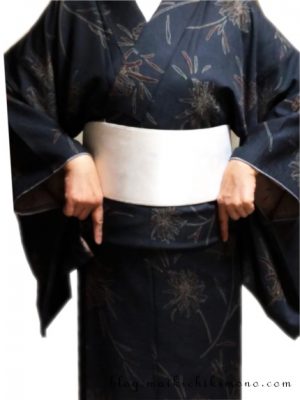
59. ひじで右を押さえつつ、右手で左の胸脇の布をすべらかにする。
Hold the right side with the right elbow and smooth wrinkles on the left side.
60. 左を伸ばし気味にし、上前と同じ向きに被せる。
Stretch the left side and close it.
61. ベルト付き帯板を付ける。帯板を回す時は上前の向きに沿わせる。
Put obi-ita board around your waist. Turn it clockwise if necessary.
上前に逆らって回すと着崩れの原因になります。
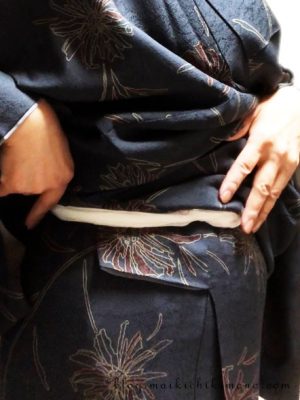
62. おはしょりの基本は帯板下から人差指1本分。
Basically, the length of ohashori should be the same as the length of the index finger.
.
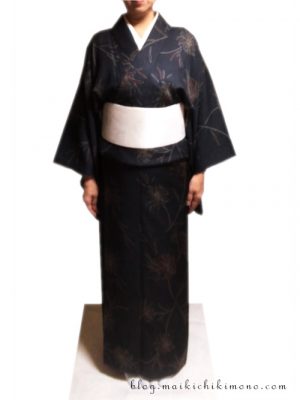
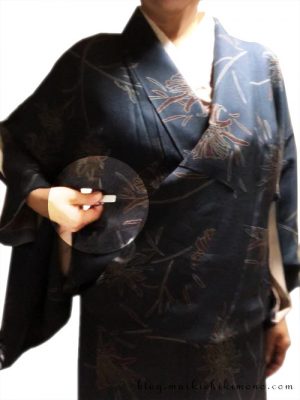
63. 着物の着付け完了!
Finished!
次はいよいよ帯結びに入ります。準備は整っていますか?
皆さん、次はお待ちかねの帯結びです。 名古屋帯の一重太鼓結びは着物教室のお稽古で必ず初めに習う最も基本的な帯結びです。この結びを習得すればどこでもお出かけできます。 習得目標 帯の扱いに慣れる お太鼓の構[…]